
Section 1: Basic Details
Details
Name - Name the campaign to easily refer to it later, take actions and track campaign performance
Label (optional) - Labels are tags that can be assigned to campaigns. They help group multiple campaigns for easier navigation. Multiple labels can be attached to a single campaign.
User Segmentation
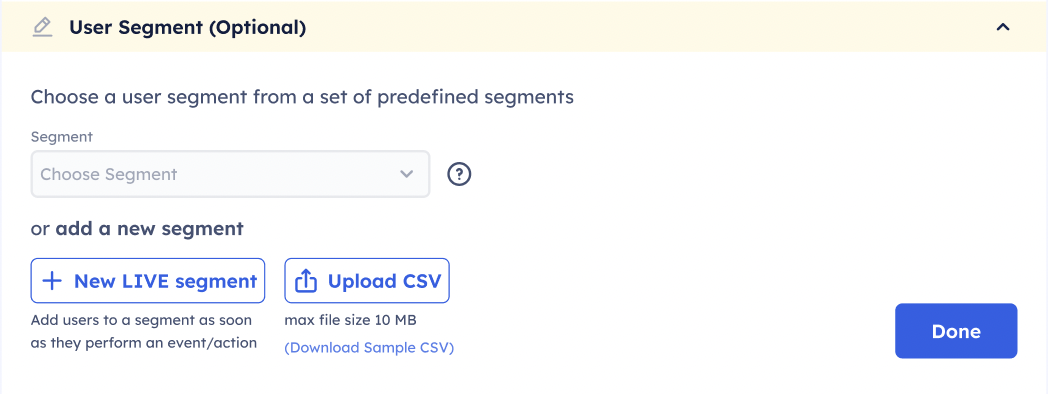
If you wish to run the campaign for only certain customers on your application you can choose the specific segment of users.
- Click drop down
- Select segment you want to limit the campaign to
- Select ‘All Users’ from drop down if you want to run the campaign for all customers
- Click Done
You can choose from segments already created on the dashboard or create a segment. You have the option to create a Static Segment or a Live Segment. To read more about creating segments view our section on Segments
Timeframe
Here you can choose the start and end date of the campaign being created. The campaign time-zone is the same as the timezone selected when creating the project on the Rehook dashboard. You can check the same in Project Settings.
- Select the start time of the campaign using the Date and Time picker [Select 'Choose current date/time' to begin the campaign immedately]
- Select when you want to end the campaign [Select 'Never Ends' if you want to keep the campaign running without an end]
- Click Done
The timeframe of the campaign can be edited even after launch.